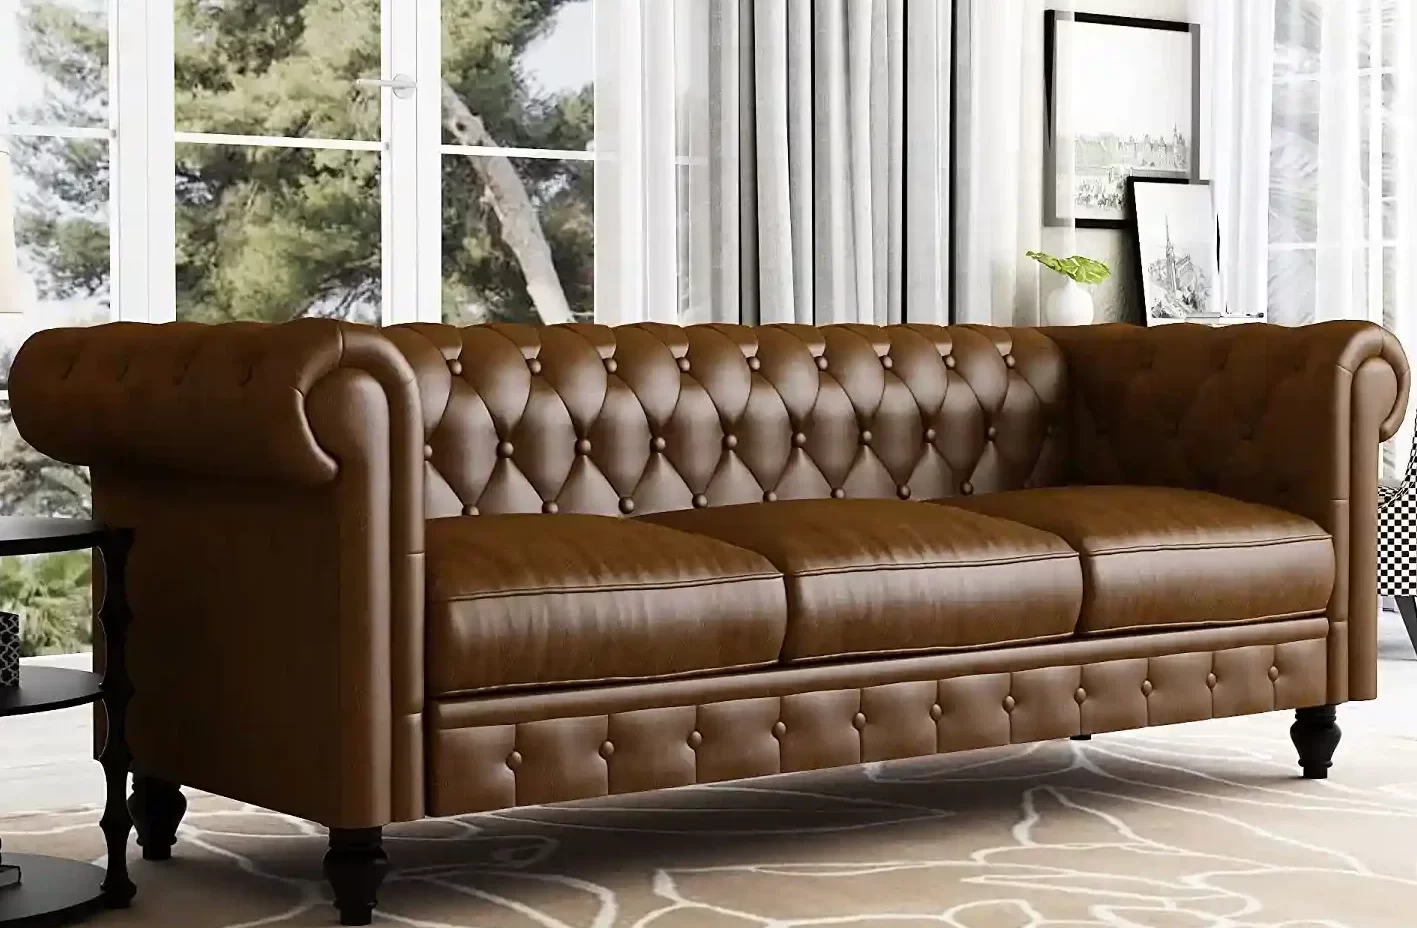
Is your favorite sofa in a sorry state, with broken springs or torn upholstery? Don’t worry; how to fix a broken sofa? we’ve got you covered! In this comprehensive guide, we’ll walk you through the step-by-step process of fixing a broken sofa. Whether it’s a minor repair or a major restoration, you’ll learn the techniques and tips to bring your sofa back to life. So, grab your tools, and let’s get started!
Damage Assessment
Before diving into the repair process, it’s crucial to assess the extent of the damage. Carefully inspect your sofa and identify the specific issues you need to address. Here are some common problems you might encounter:
- Broken Springs: If your sofa feels saggy or lacks support, broken or worn-out springs could be the culprit.
- Torn Upholstery: Rips, tears, or frayed fabric can make your sofa look worn and unattractive.
- Loose Frame Joints: A wobbly or unstable sofa frame can compromise its structural integrity.
- Gathering the Tools and Materials
Once you’ve identified the issues, gather the necessary tools and materials for the repair. Here’s a handy list to help you get started:
- Pliers
- Screwdriver set
- Upholstery needles and thread
- Staple gun
- Replacement springs or webbing
- Foam or batting
- Fabric for upholstery
- Wood glue
- Sandpaper
- Paint or wood stain (if needed)
- Furniture repair clamps (for frame repairs)
- Repairing Broken Springs
If your sofa has sagging cushions or uneven support, it’s likely due to broken springs. Follow these steps to fix the springs:
- Identify the broken springs: Remove the upholstery from the affected area and locate the broken springs. Replace any springs that are damaged or worn out.
- Remove the old springs: Use pliers or a screwdriver to detach the broken springs from the sofa frame.
- Install new springs: Attach the replacement springs using the appropriate fasteners or clips, ensuring they are securely in place.
- Replace upholstery: Carefully reupholster the repaired area, making sure the fabric is taut and wrinkle-free.
- Restoring Torn Upholstery
Torn upholstery can make your sofa look tired and worn. Here’s how you can restore it:
- Prepare the area: Clean the torn area and remove any loose threads or debris.
- Apply fabric glue: Use fabric glue to seal minor tears or frayed edges. Apply the glue evenly and press the torn edges together.
- Patch larger tears: For larger tears, cut a fabric patch slightly larger than the damaged area. Apply fabric glue around the edges of the tear and press the patch firmly onto the glue. Smooth out any wrinkles or bubbles.
- Sew the upholstery: If the tear is significant or the fabric is heavily damaged, you may need to sew the upholstery. Use upholstery needles and thread to stitch the torn edges together. Knot the thread securely to prevent unraveling.
- Fixing Loose Frame Joints
Wobbly or loose frame joints can affect the stability and durability of your sofa. Follow these steps to fix them:
- Identify the loose joints: Carefully examine the frame and identify any loose or wobbly joints.
Apply wood glue: Disassemble the joint and apply wood glue to the mating surfaces. Reassemble the joint and tighten any Screws or bolts to secure it in place. 3. Reinforce with clamps: If the joint requires extra reinforcement, use furniture repair clamps to hold the pieces together while the glue dries. Follow the manufacturer’s instructions for proper usage.
- Allow drying time: Give the wood glue sufficient time to dry and cure according to the manufacturer’s recommendations.
- Sand and finish: Once the glue is fully dry, sand any rough edges or excess glue. Apply paint or wood stain to match the sofa’s original finish if necessary.
- Enhancing Comfort and Appearance
While fixing structural issues, you can also enhance the comfort and appearance of your sofa. Consider these additional steps:
How To Fix a Broken Sofa Explore These Steps
- Replacing foam or batting: If the cushions feel flat or uncomfortable, replace them to restore their plushness. Measure and cut new foam or batting to fit the cushion covers.
- Reupholstering: If your sofa’s upholstery is worn-out or outdated, consider reupholstering it with a fresh and stylish fabric. Remove the existing fabric, cut new fabric to size, and use a staple gun to secure it in place.
- Adding decorative accents: To give your sofa a personal touch, consider adding decorative accents such as throw pillows, cushions, or a cozy blanket. These accessories can enhance both comfort and visual appeal.
Conclusion
Repairing a broken sofa may seem daunting, but it can be a rewarding project with the right tools, materials, and guidance. Following the steps outlined in this comprehensive guide, how to fix a broken sofa or broken springs, restore torn upholstery, and strengthen loose frame joints. Remember to assess the damage, gather the necessary tools, and take the time to make your sofa both structurally sound and visually appealing. With a little effort and creativity, your broken sofa will be transformed into a comfortable and stylish centerpiece for your living space.
While minor repairs can often be done by homeowners, complex issues or extensive damage may require the expertise of a professional. Assess the damage carefully and consider your skill level before deciding. If in doubt, consult with a furniture repair specialist.
The time required to fix a broken sofa depends on the extent of the damage, your skill level, and the availability of tools and materials. Simple repairs may take a few hours, while more complex restoration projects can span several days or even weeks.
It’s important to prioritize safety when working with tools and adhesives. Wear protective gloves and goggles, and exercise caution when handling sharp objects or using power tools. Follow the manufacturer’s instructions for proper usage of all tools and materials.


